Voxengo Soniformer
Primary User Guide (PDF): English, Français, Deutsch, Русский язык
Applications
- Spectral mastering plugin
- Spectral compressor plugin
- Spectral mid-side stereo-widener
- Spectral stereo panner
- Resonance-taming plugin
- Spectral de-noiser
- Restoration assistance plugin
- Stereo, mono, mid-side spectral plugin
- 7.1, 5.1 surround sound spectral plugin
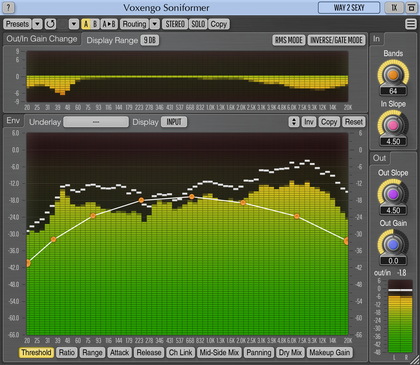
Soniformer is a spectral mastering dynamics processor AAX, AudioUnit, and VST plugin for professional music production applications. During its operation, Soniformer splits incoming sound signal into multiple spectral bands. This makes Soniformer a powerful and precise tool for mastering and sound restoration purposes.
Every parameter in Soniformer is defined by means of a graphical envelope which is freely-modifiable and which may contain any number of control points. Beside usual threshold, attack, release, and compression/expander ratio parameters, Soniformer offers you control over “stereo width” and “panning” parameters making Soniformer an effective tool for stereo-field adjustments.
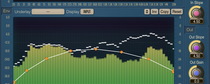
Not only Soniformer offers you an easy-to-use parameter envelope editing interface, it also features a comprehensive set of spectral metering tools: you can switch between input, output, stereo correlation, and stereo balance spectrums. The spectral gain change meter (that is always present on the user interface) gives you an outline of the overall signal power change applied by the plugin’s processing chain.